When to Use Voice Responses
Use an Audio field when a spoken answer gives you better information than text alone.| Use Case | Why Audio Helps |
|---|---|
| Customer feedback | Capture the reason behind a rating in the submitter’s own words |
| Job screening | Ask candidates to introduce themselves before a live interview |
| Language practice | Collect speaking exercises, pronunciation checks, or oral answers |
| Field reports | Let people describe what they see on-site without typing a long note |
| Testimonials | Collect more natural stories after an event, class, or purchase |
| Support reports | Let submitters explain what happened while attaching screenshots or files |
Recommended Fields
Most voice response forms still need a few structured fields. Keep the audio prompt focused, then use other fields for data you need to filter or follow up.| Field | Type | Required? |
|---|---|---|
| Name | Name | Optional or required, depending on the workflow |
| Optional, unless you need follow-up | ||
| Category | Dropdown | Optional, useful for routing |
| Rating | NPS or Rating | Optional, useful for feedback forms |
| Audio response | Audio | Yes, when the voice answer is the main submission |
| Consent | Checkbox | Recommended when you may reuse the recording |
Build Your Voice Response Form
Create the Form
Click New Form and start from scratch, choose a related template, or use Create with AI to generate the first draft.
Add an Audio Field
In the builder, open the Data field group and add Audio. Write the field title as the spoken prompt you want submitters to answer.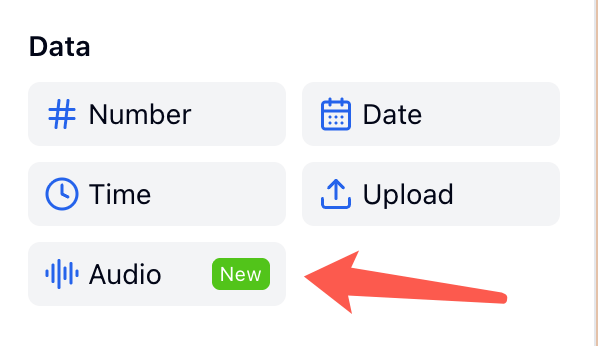
Set the Recording Limit
Select the Audio field and choose a Recording Limit. Use a short limit for quick feedback and a longer limit for interviews, speaking practice, or reports.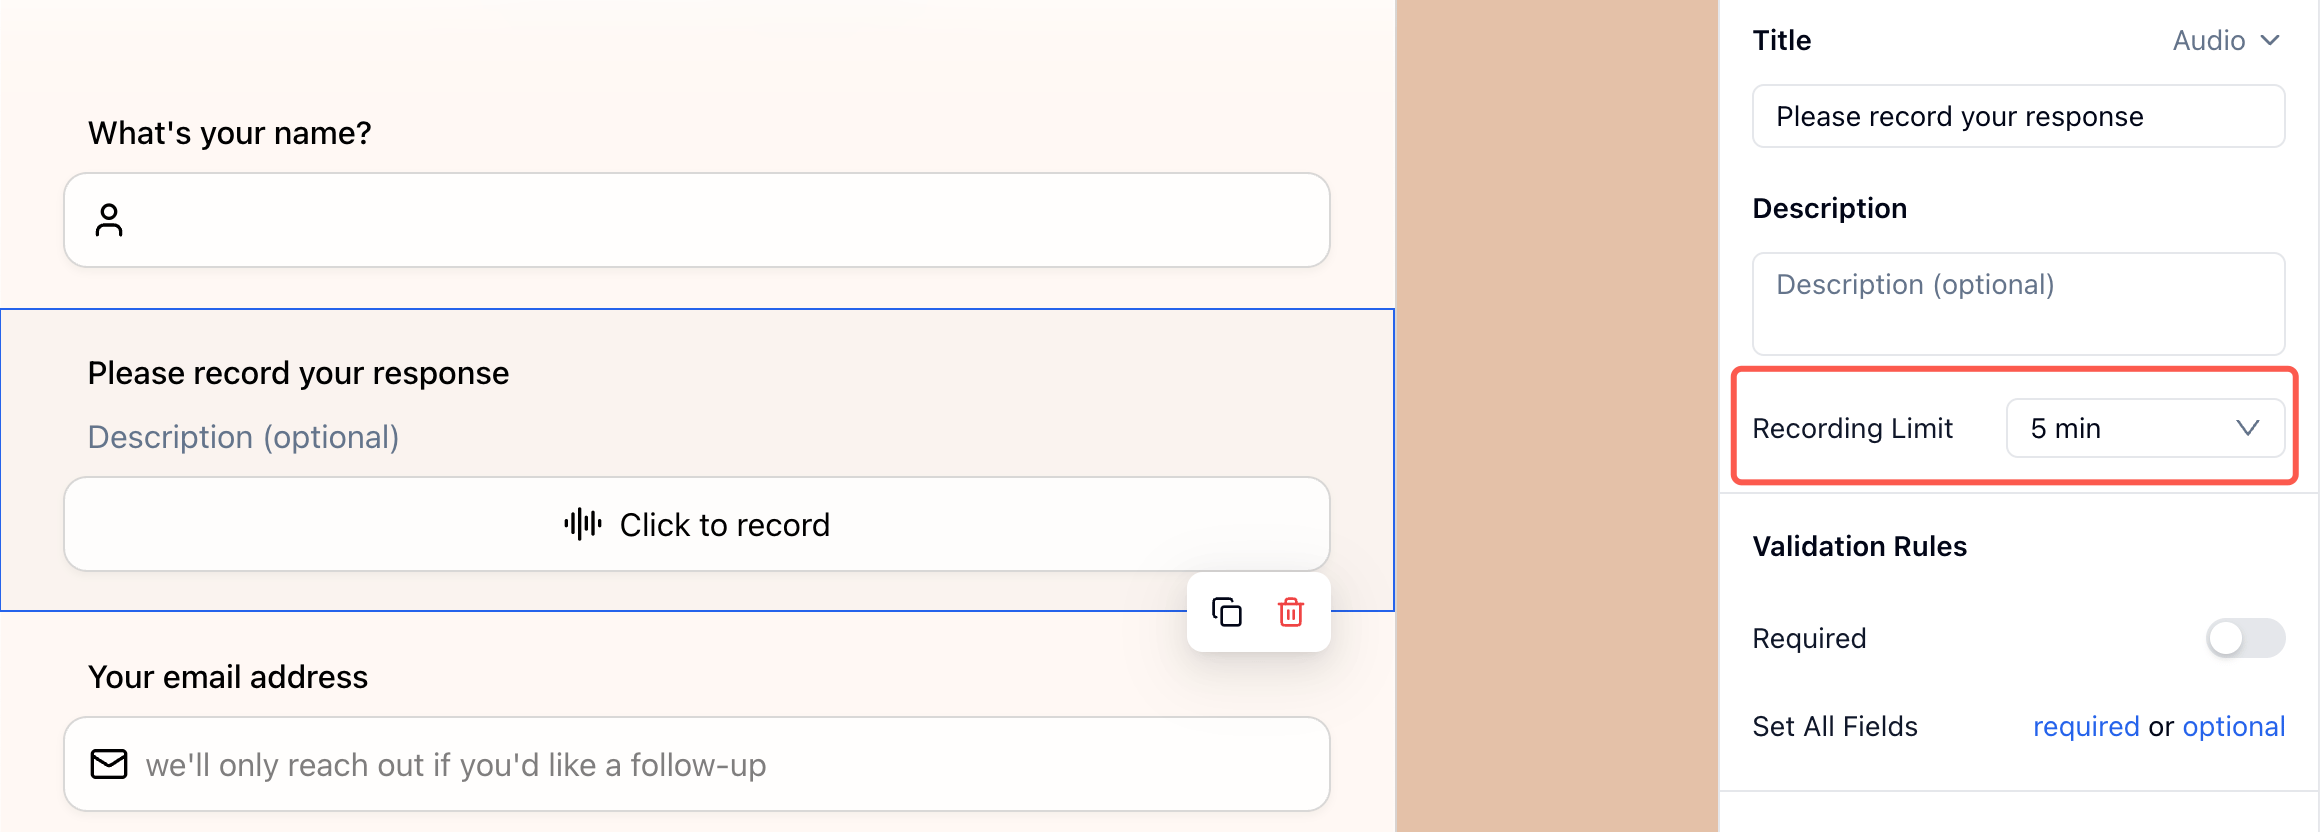
Add Context Fields
Add fields such as Name, Email, Rating, Category, File Upload, or Location. These fields make submissions easier to review and route.
Add Consent When Needed
If you plan to reuse the recording for marketing, research, training, or public sharing, add a required Checkbox field for consent.
Test the Recording Experience
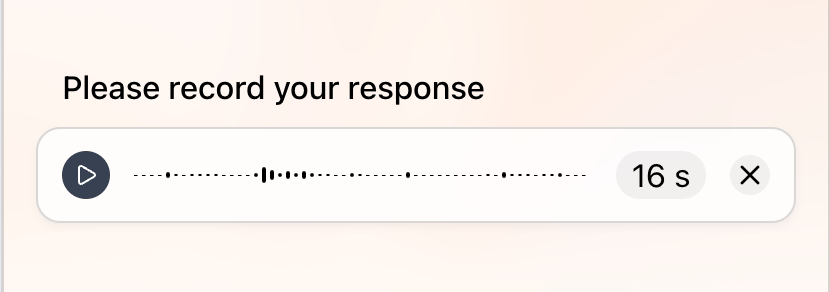
Before sharing the form, open the published form as a submitter and record a short test answer.
Open the recorder
On mobile, tapping the field opens a recording sheet. The submitter taps the microphone button to begin.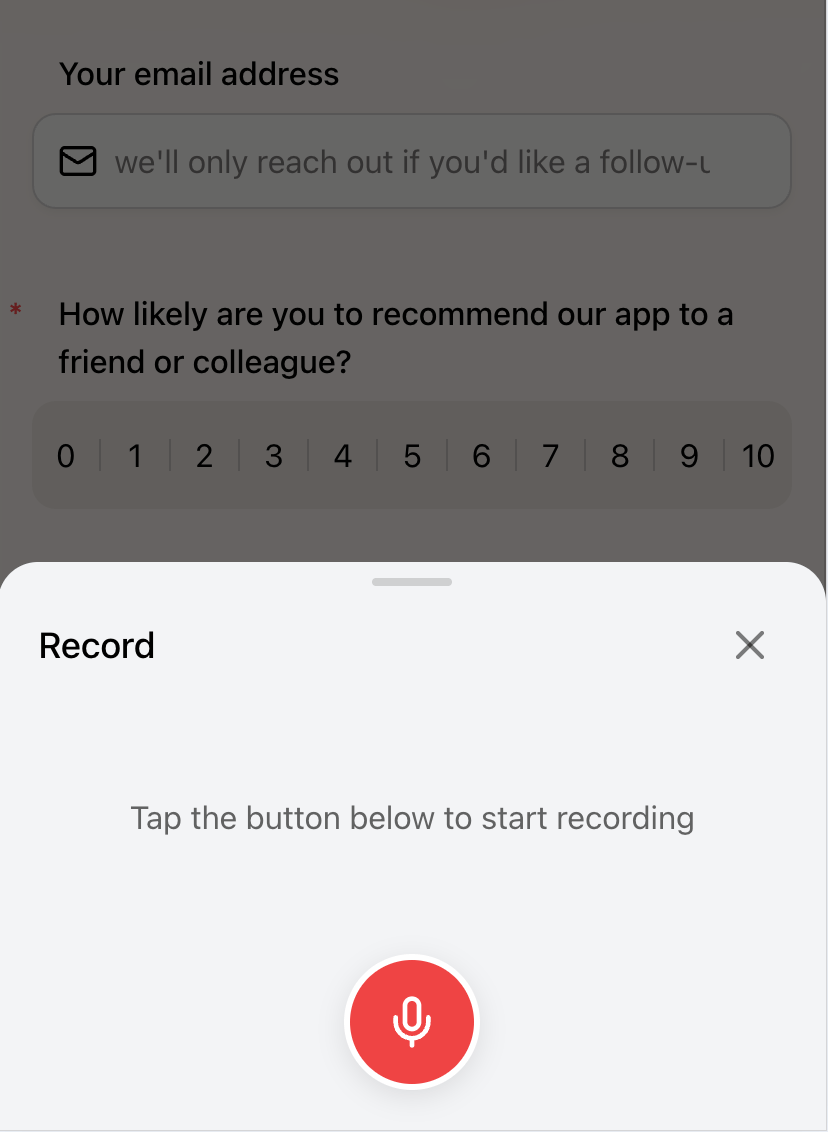
Record the response
While recording, FormHug shows the timer and waveform so the submitter knows the recording is active.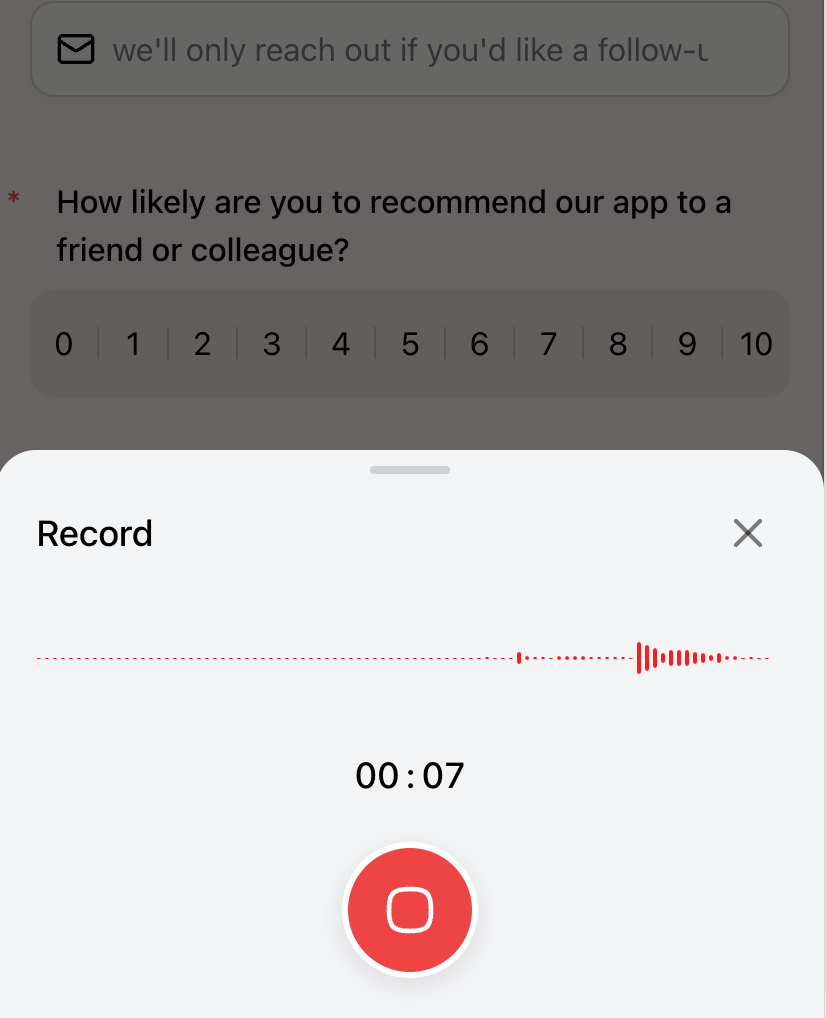
Review or record again
After stopping, the submitter can play the recording, record again, or tap Finish to attach it to the form.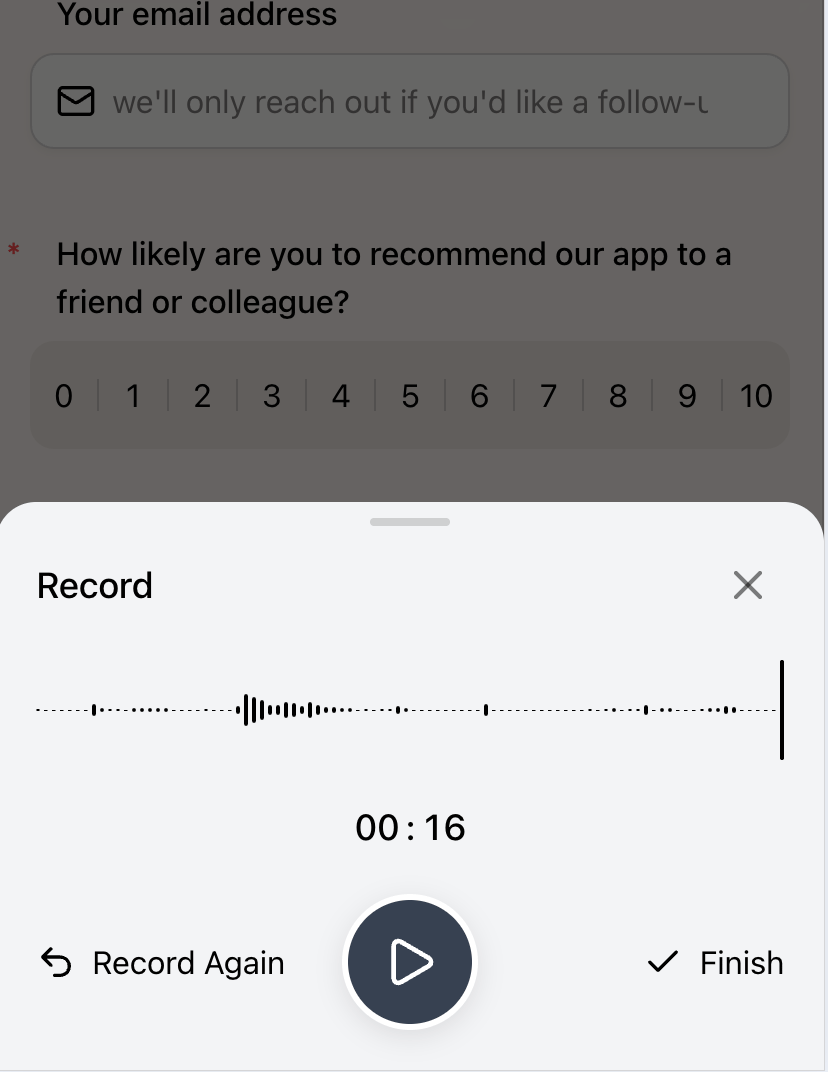
Voice Response Examples
Customer Voice Feedback
Use this when you want the reason behind a score, not just the score itself. Demo: Voice Customer Feedback / NPS Follow-up Suggested fields:- NPS: “How likely are you to recommend our app?”
- Audio: “Tell us why you gave this score.”
- Follow-up permission checkbox
Candidate Voice Introduction
Use this for asynchronous screening before scheduling interviews. Demo: Async Job Screening / Voice Introduction Suggested fields:- Name
- Role applying for
- Resume upload
- Audio: “Introduce yourself and tell us why this role interests you.”
Speaking Practice Submission
Use this for language classes, tutoring, or oral assignments. Demo: Language Speaking Practice Submission Suggested fields:- Student name
- Class or level
- Assignment prompt
- Audio: “Record your answer in English for up to two minutes.”
Field Report
Use this for inspections, site visits, operations checks, or event staff updates. Demo: Field Report / Site Visit Voice Note Suggested fields:- Name
- Location
- Date
- Photo upload
- Audio: “Describe what you observed on-site.”
Event Testimonial
Use this after a workshop, event, or customer experience. Demo: Event or Workshop Testimonial Suggested fields:- Name
- Organization
- Rating
- Audio: “Share one thing you learned or enjoyed.”
- Consent checkbox
Support Bug Report
Use this when screenshots show the issue, but a voice note explains the sequence. Demo: Support Bug Report with Voice Explanation Suggested fields:- Product area
- Screenshot upload
- Audio: “Walk us through what happened.”
Client Intake Voice Brief
Use this when a new client needs to describe goals, constraints, and context in their own words. Demo: Client Intake Voice Brief Suggested fields:- Name
- Project type
- Budget range
- Audio: “Tell us what you’re trying to create.”
Writing Better Audio Prompts
Good audio prompts tell submitters what to say, how long to speak, and what kind of detail matters.| Instead Of | Use |
|---|---|
| ”Record your response" | "In 30-60 seconds, tell us what happened and what you expected instead." |
| "Share feedback" | "Tell us one thing that worked well and one thing we should improve." |
| "Introduce yourself" | "Tell us your name, current role, and why this opportunity interests you." |
| "Describe the issue" | "Walk us through what you tried, what happened, and where you got stuck.” |
Review Audio Submissions
After a form is submitted, audio files appear in Data → Submissions with the rest of the submission details. You can play the recording, review the surrounding fields, and download the audio when needed.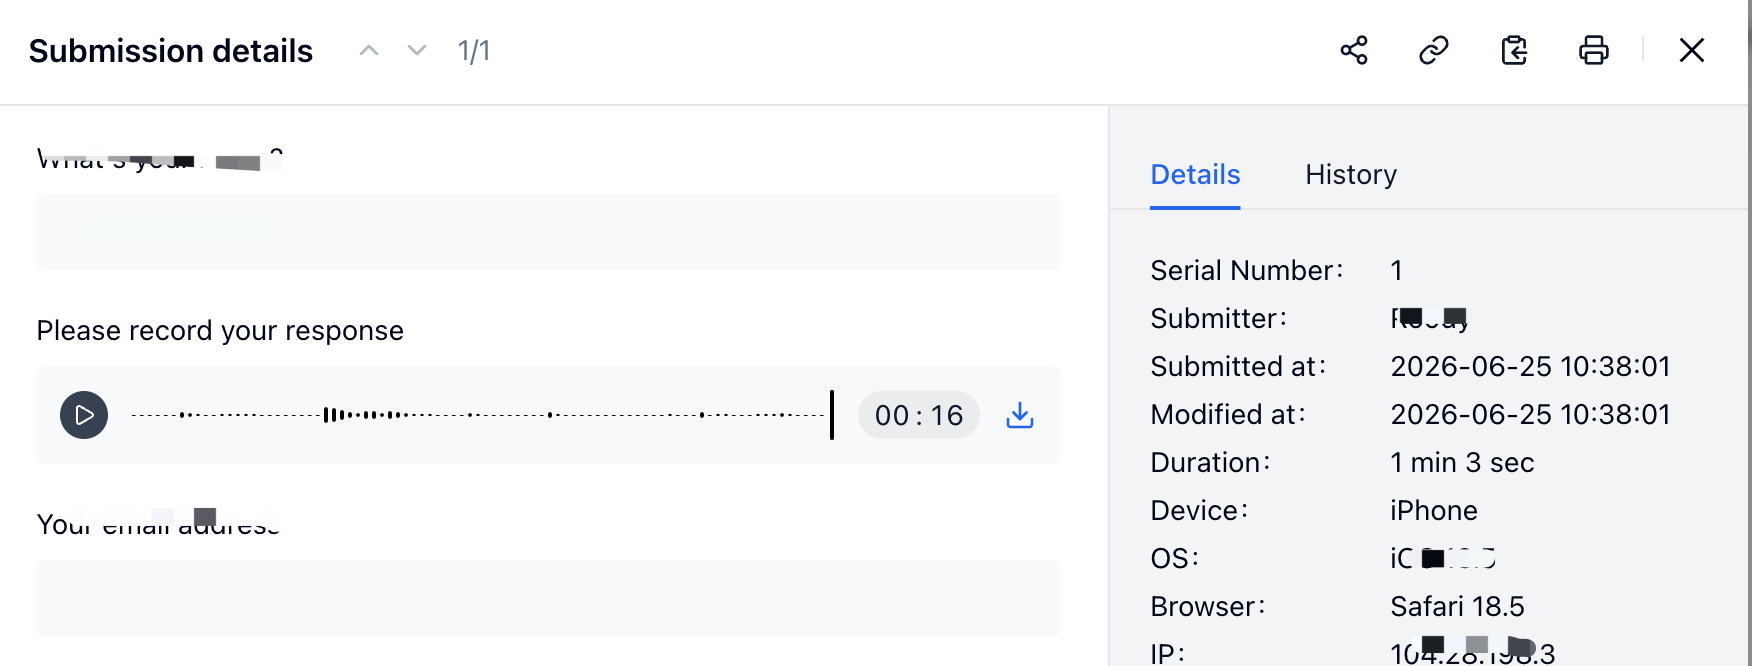
Related
Data Fields
Learn how Audio, File Upload, Date, Time, and Number fields work
Build an Online Survey
Combine ratings, NPS, and open-ended feedback in one survey
Form Design Best Practices
Write clearer prompts and reduce form abandonment
Submissions
Review, filter, and export submitted form data
File Uploads
Collect documents, screenshots, and other supporting files
Notifications
Notify your team when a new voice response arrives