

When to Use Zapier
Use Zapier when you want FormHug submissions to power workflows outside FormHug, especially when the destination app is not available as a built-in integration.- Create CRM records: turn demo requests, waitlist signups, or contact forms into HubSpot contacts, deals, or tasks.
- Route leads and applications: send submissions to sales, recruiting, admissions, or partner pipelines.
- Start email workflows: add submitters to a mailing list, campaign, or follow-up sequence.
- Update databases and spreadsheets: create records in Airtable, Zapier Tables, Google Sheets, or another database-style app.
- Notify teams: post a formatted message to Slack, Microsoft Teams, or an internal alerting workflow.
- Chain multi-step automations: filter, format, enrich, branch, or delay submissions before sending them to another app.
Before You Start
Make sure you have:- A FormHug account connected to Zapier
- A FormHug form with at least one recent submission for testing
- A Zapier account
- Access to the destination app you want to automate, such as HubSpot
- A clear mapping between FormHug fields and the destination app fields
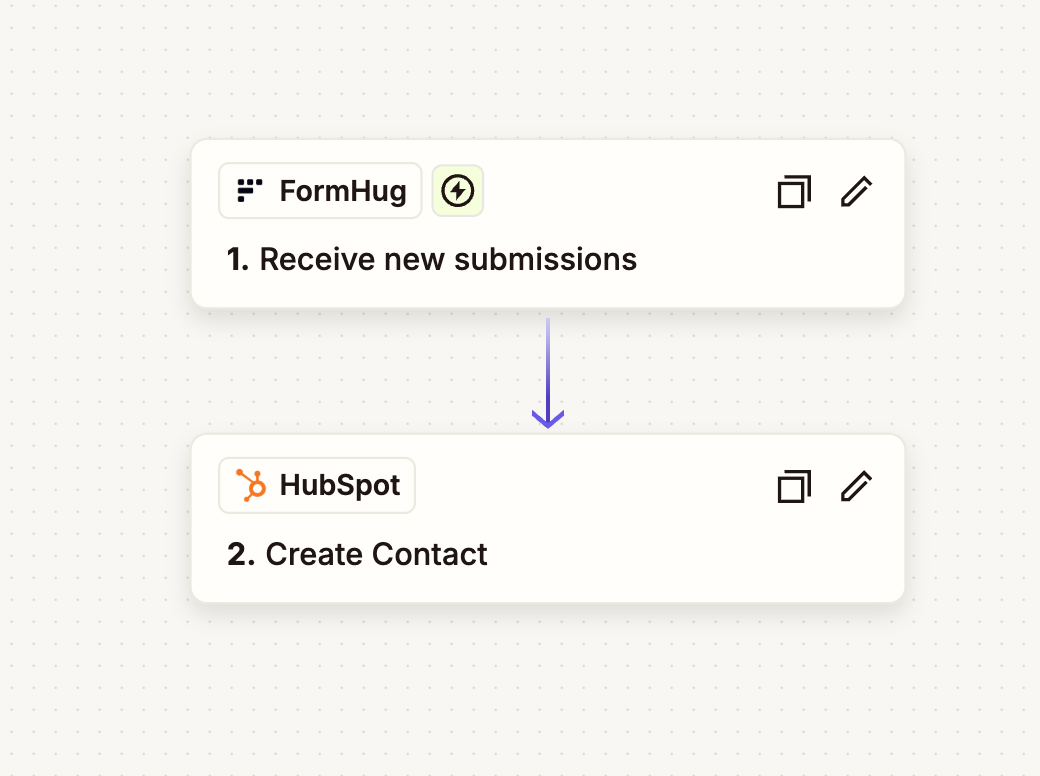
In this example, FormHug is the trigger app and HubSpot is the action app. You can replace HubSpot with any Zapier app that supports the action you need.
Open FormHug in Zapier
Open the FormHug app page in Zapier and sign in or continue with your Zapier account.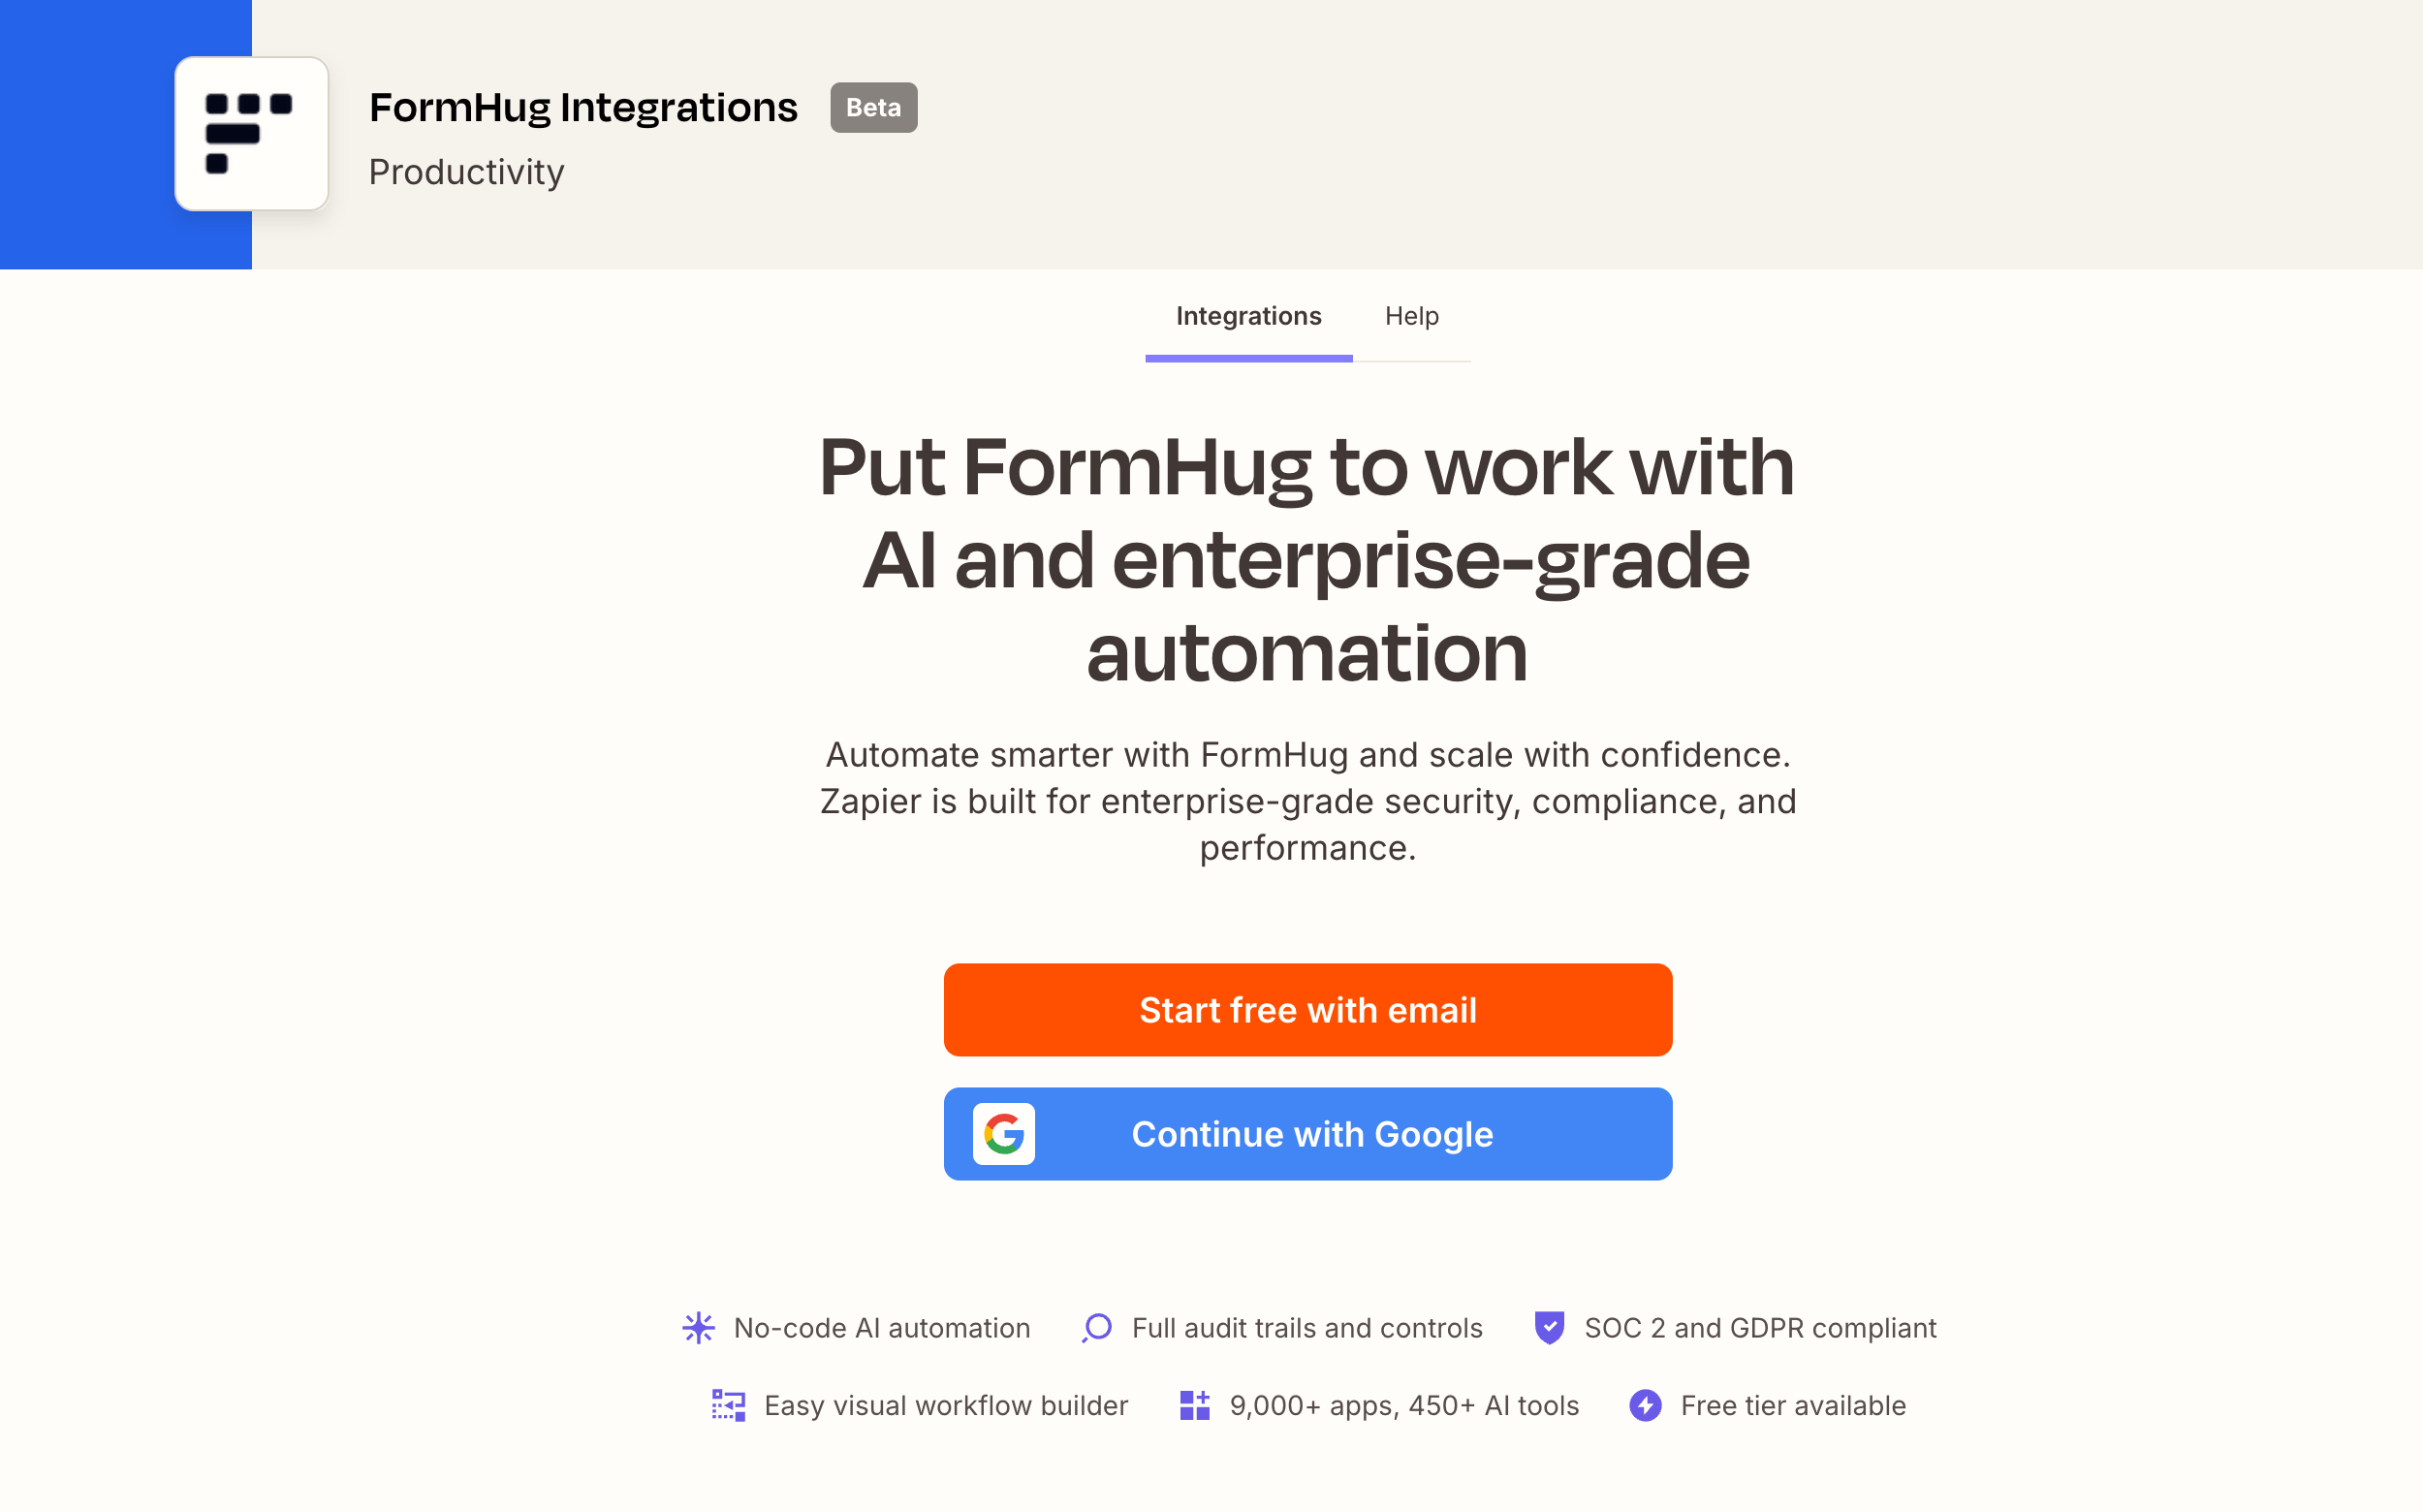
Connect Your FormHug Account
When Zapier asks to connect FormHug, choose the FormHug account you want to use and confirm the connection.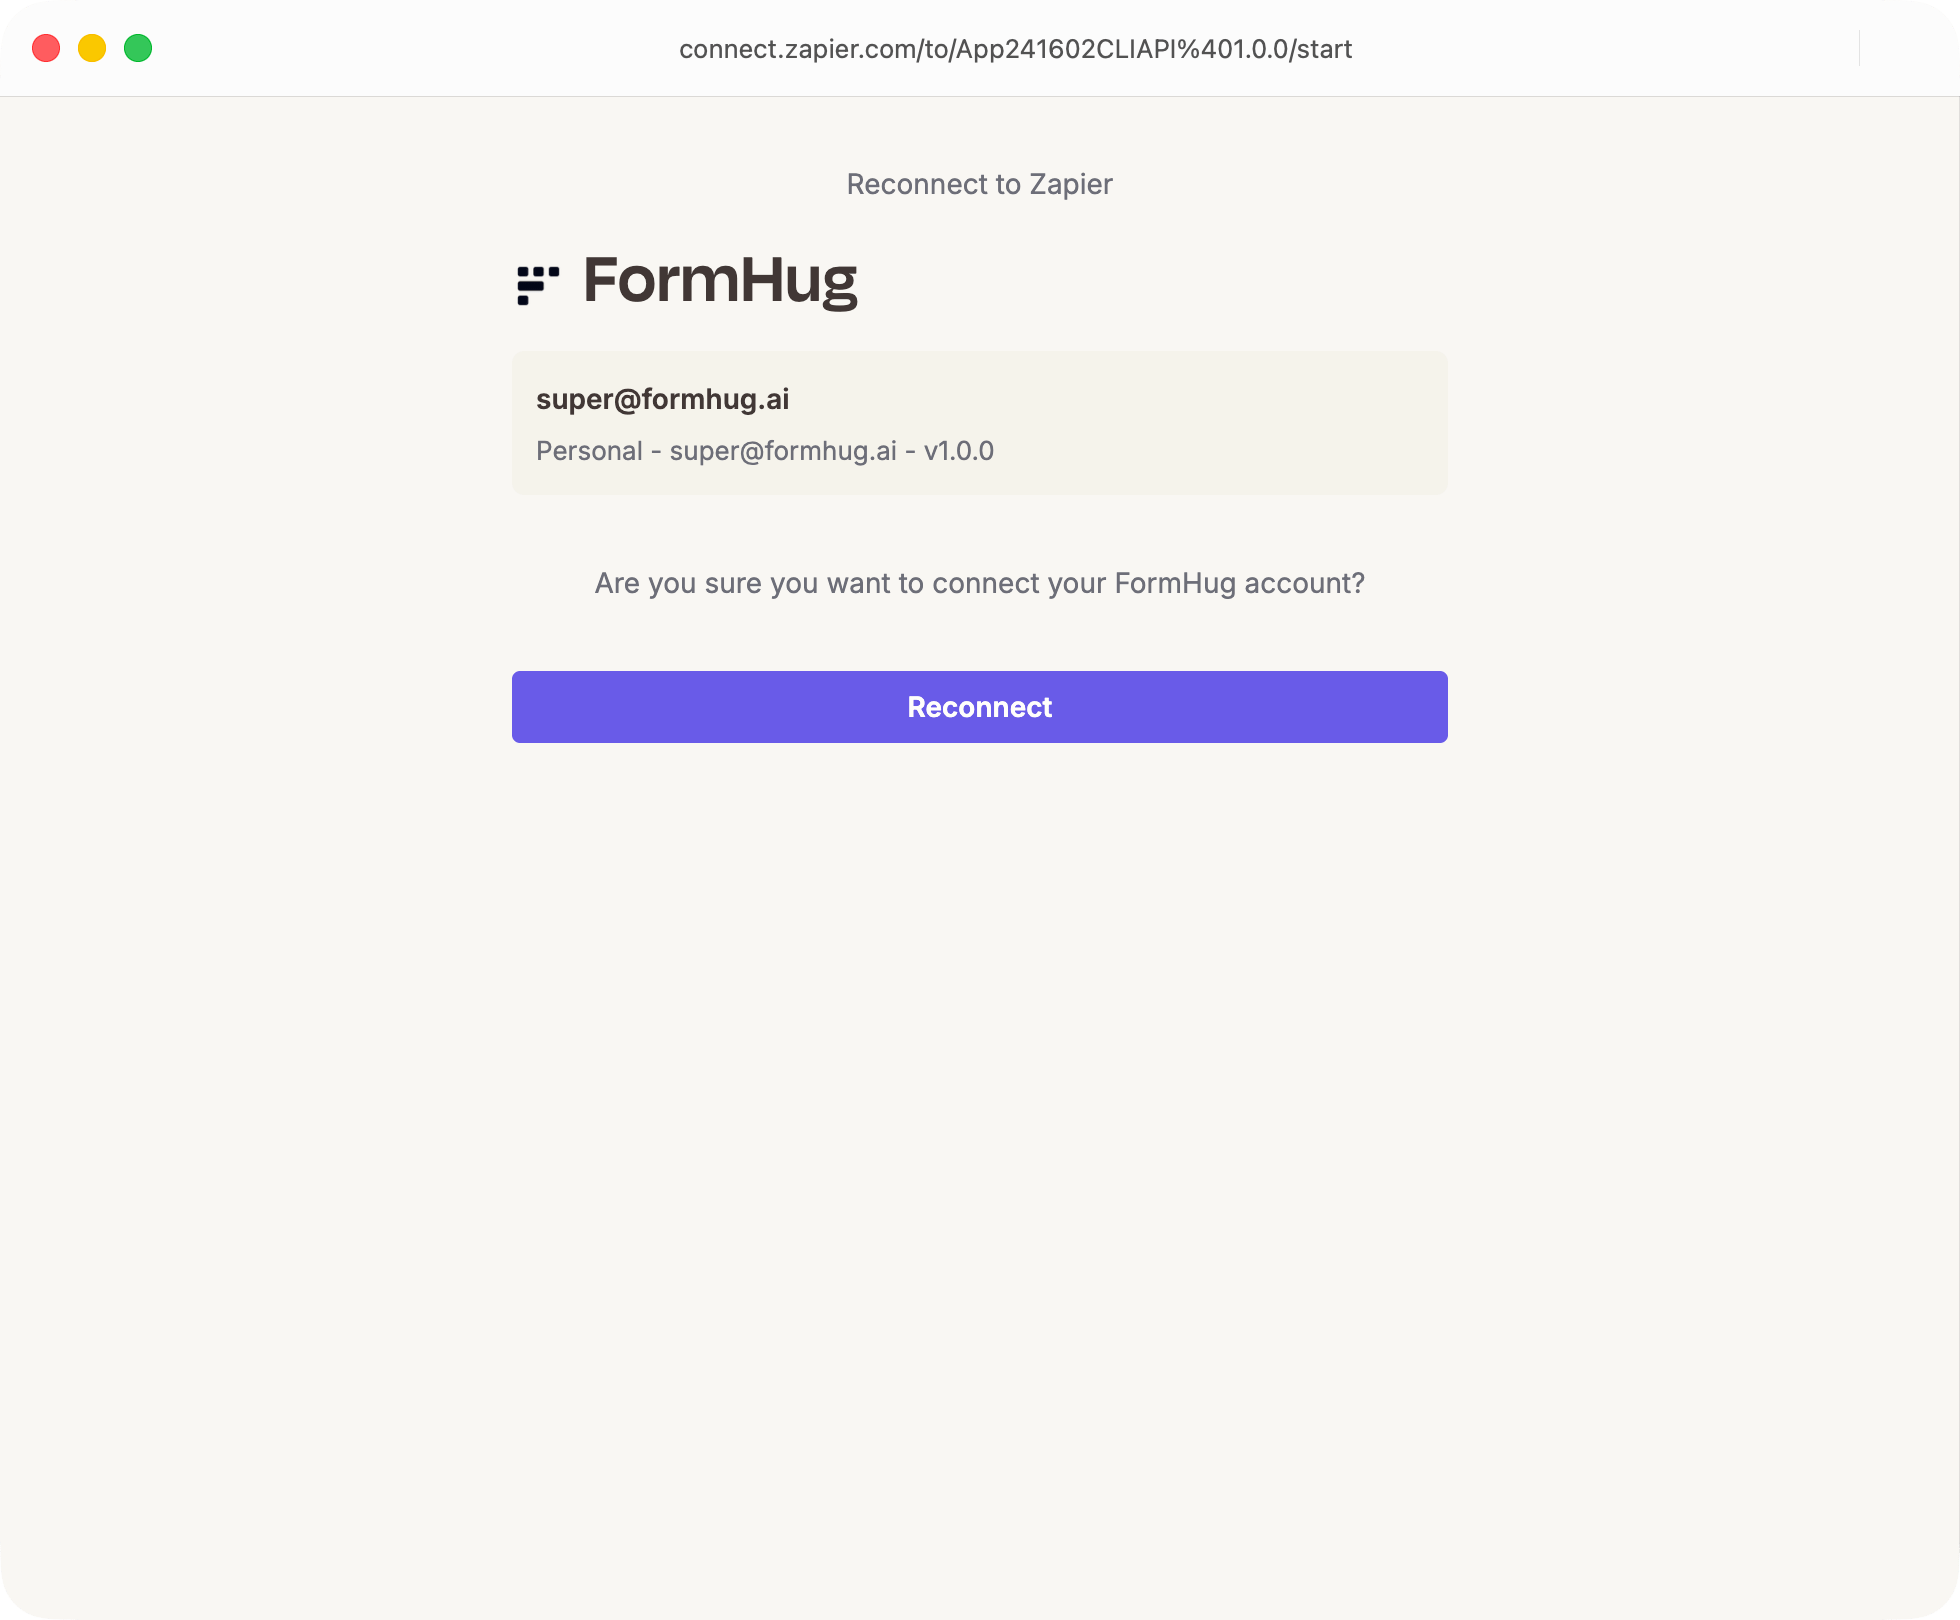
Create the FormHug Trigger
Start a new Zap and choose FormHug as the trigger app.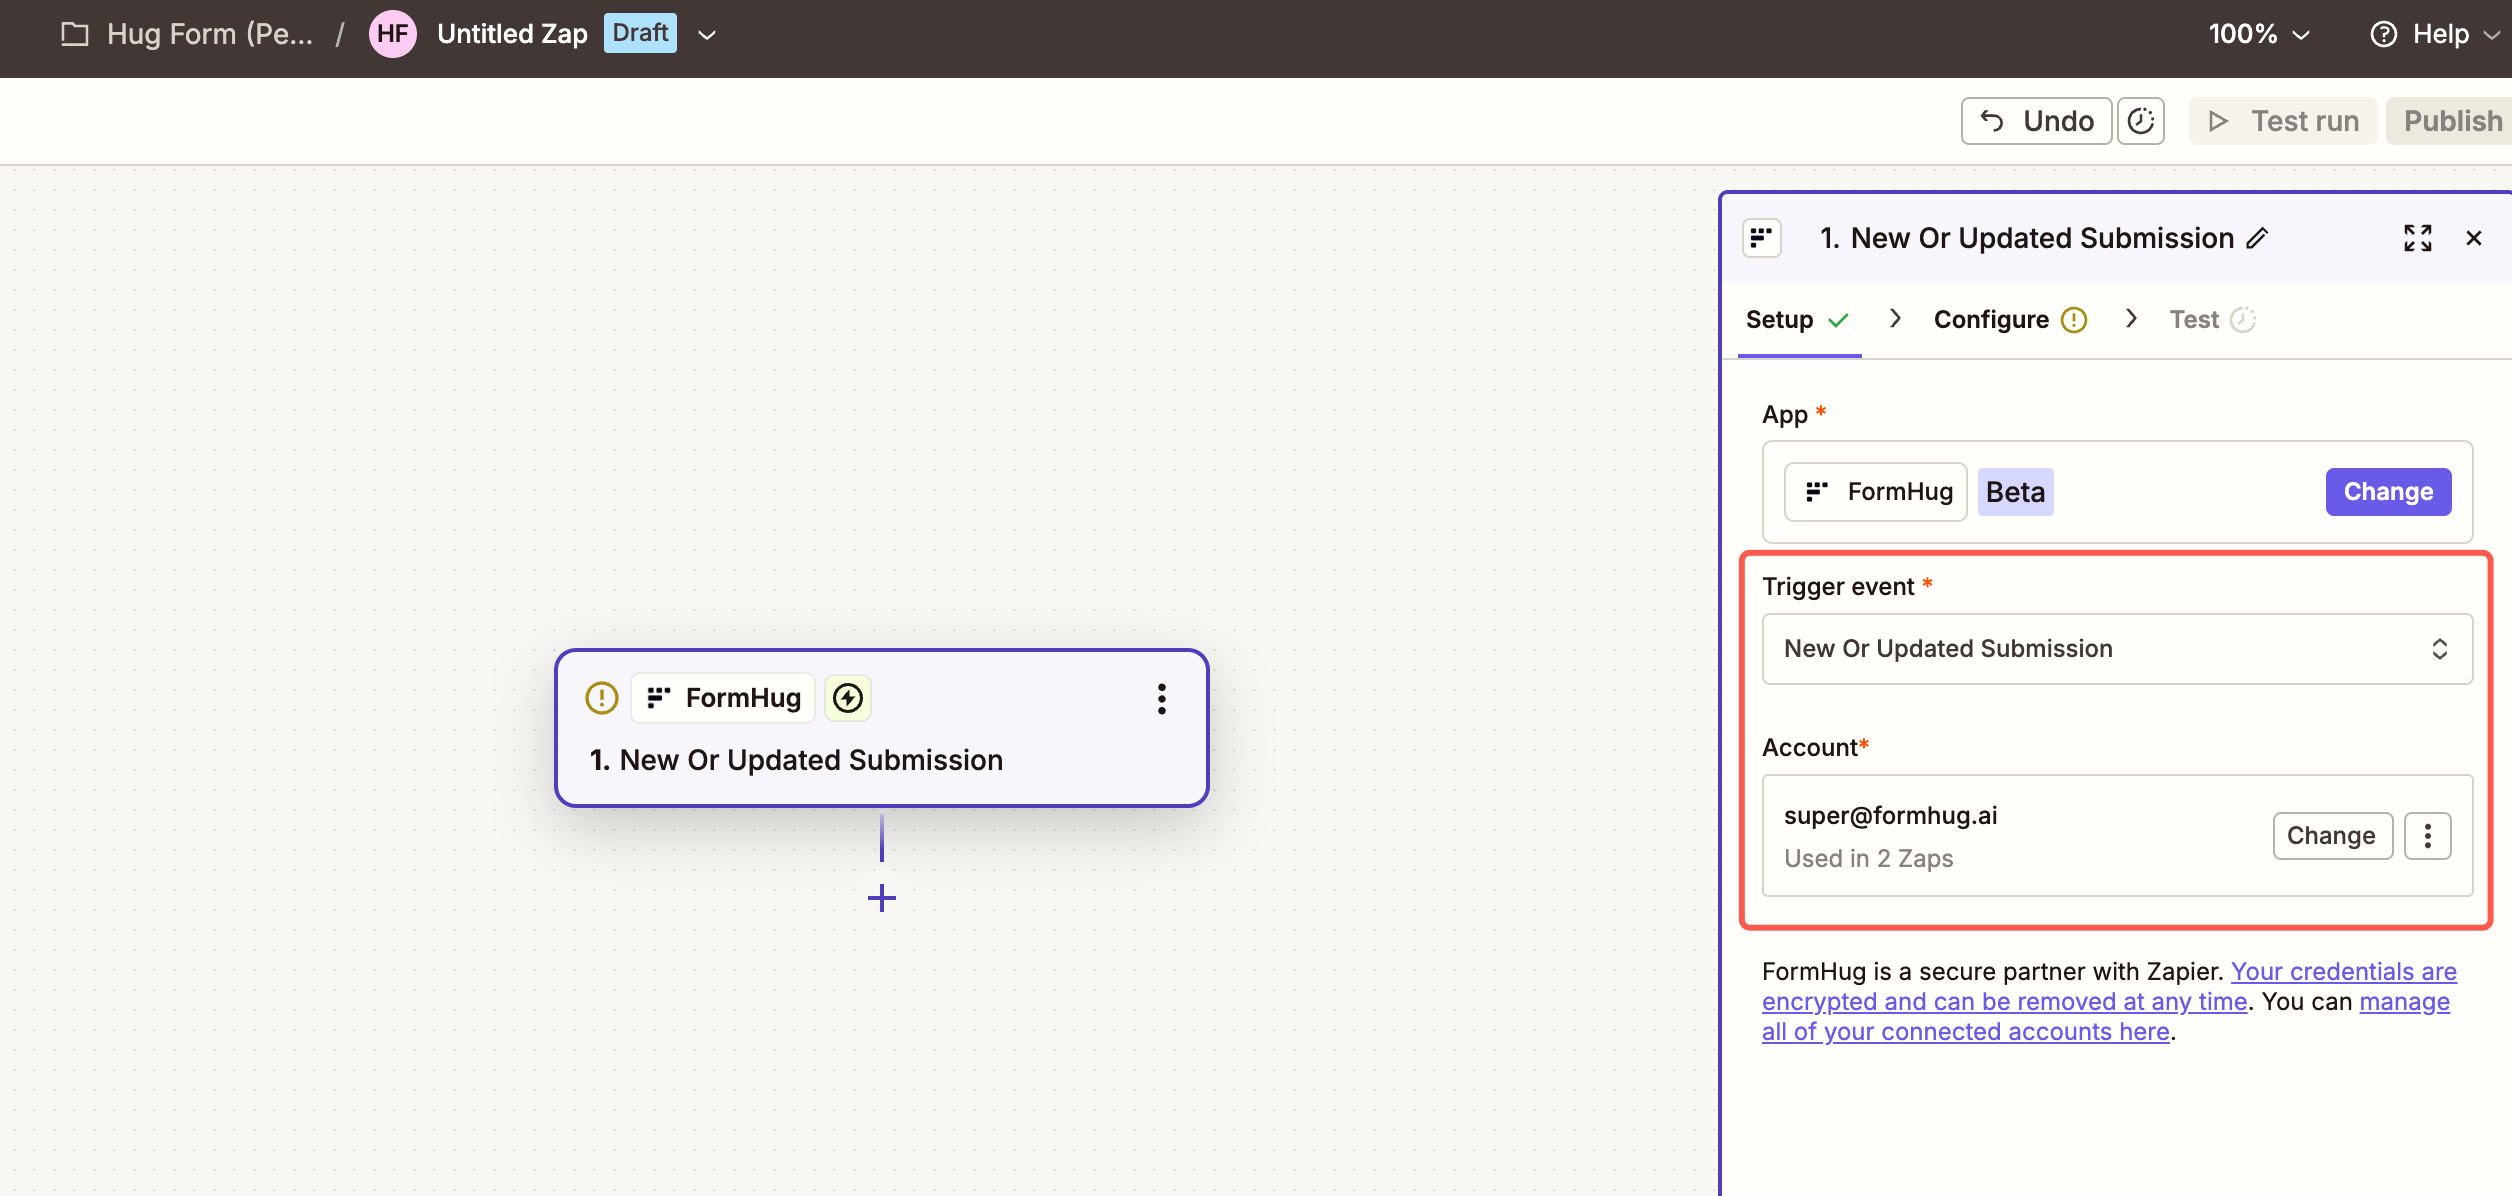
1
Choose the trigger event
Select New Or Updated Submission.
2
Choose the FormHug account
Select the FormHug account you connected.
3
Continue to configure
Click Continue to choose the form and event type.
Choose the Form and Event
In the trigger configuration, choose the FormHug form and event type that should start the Zap.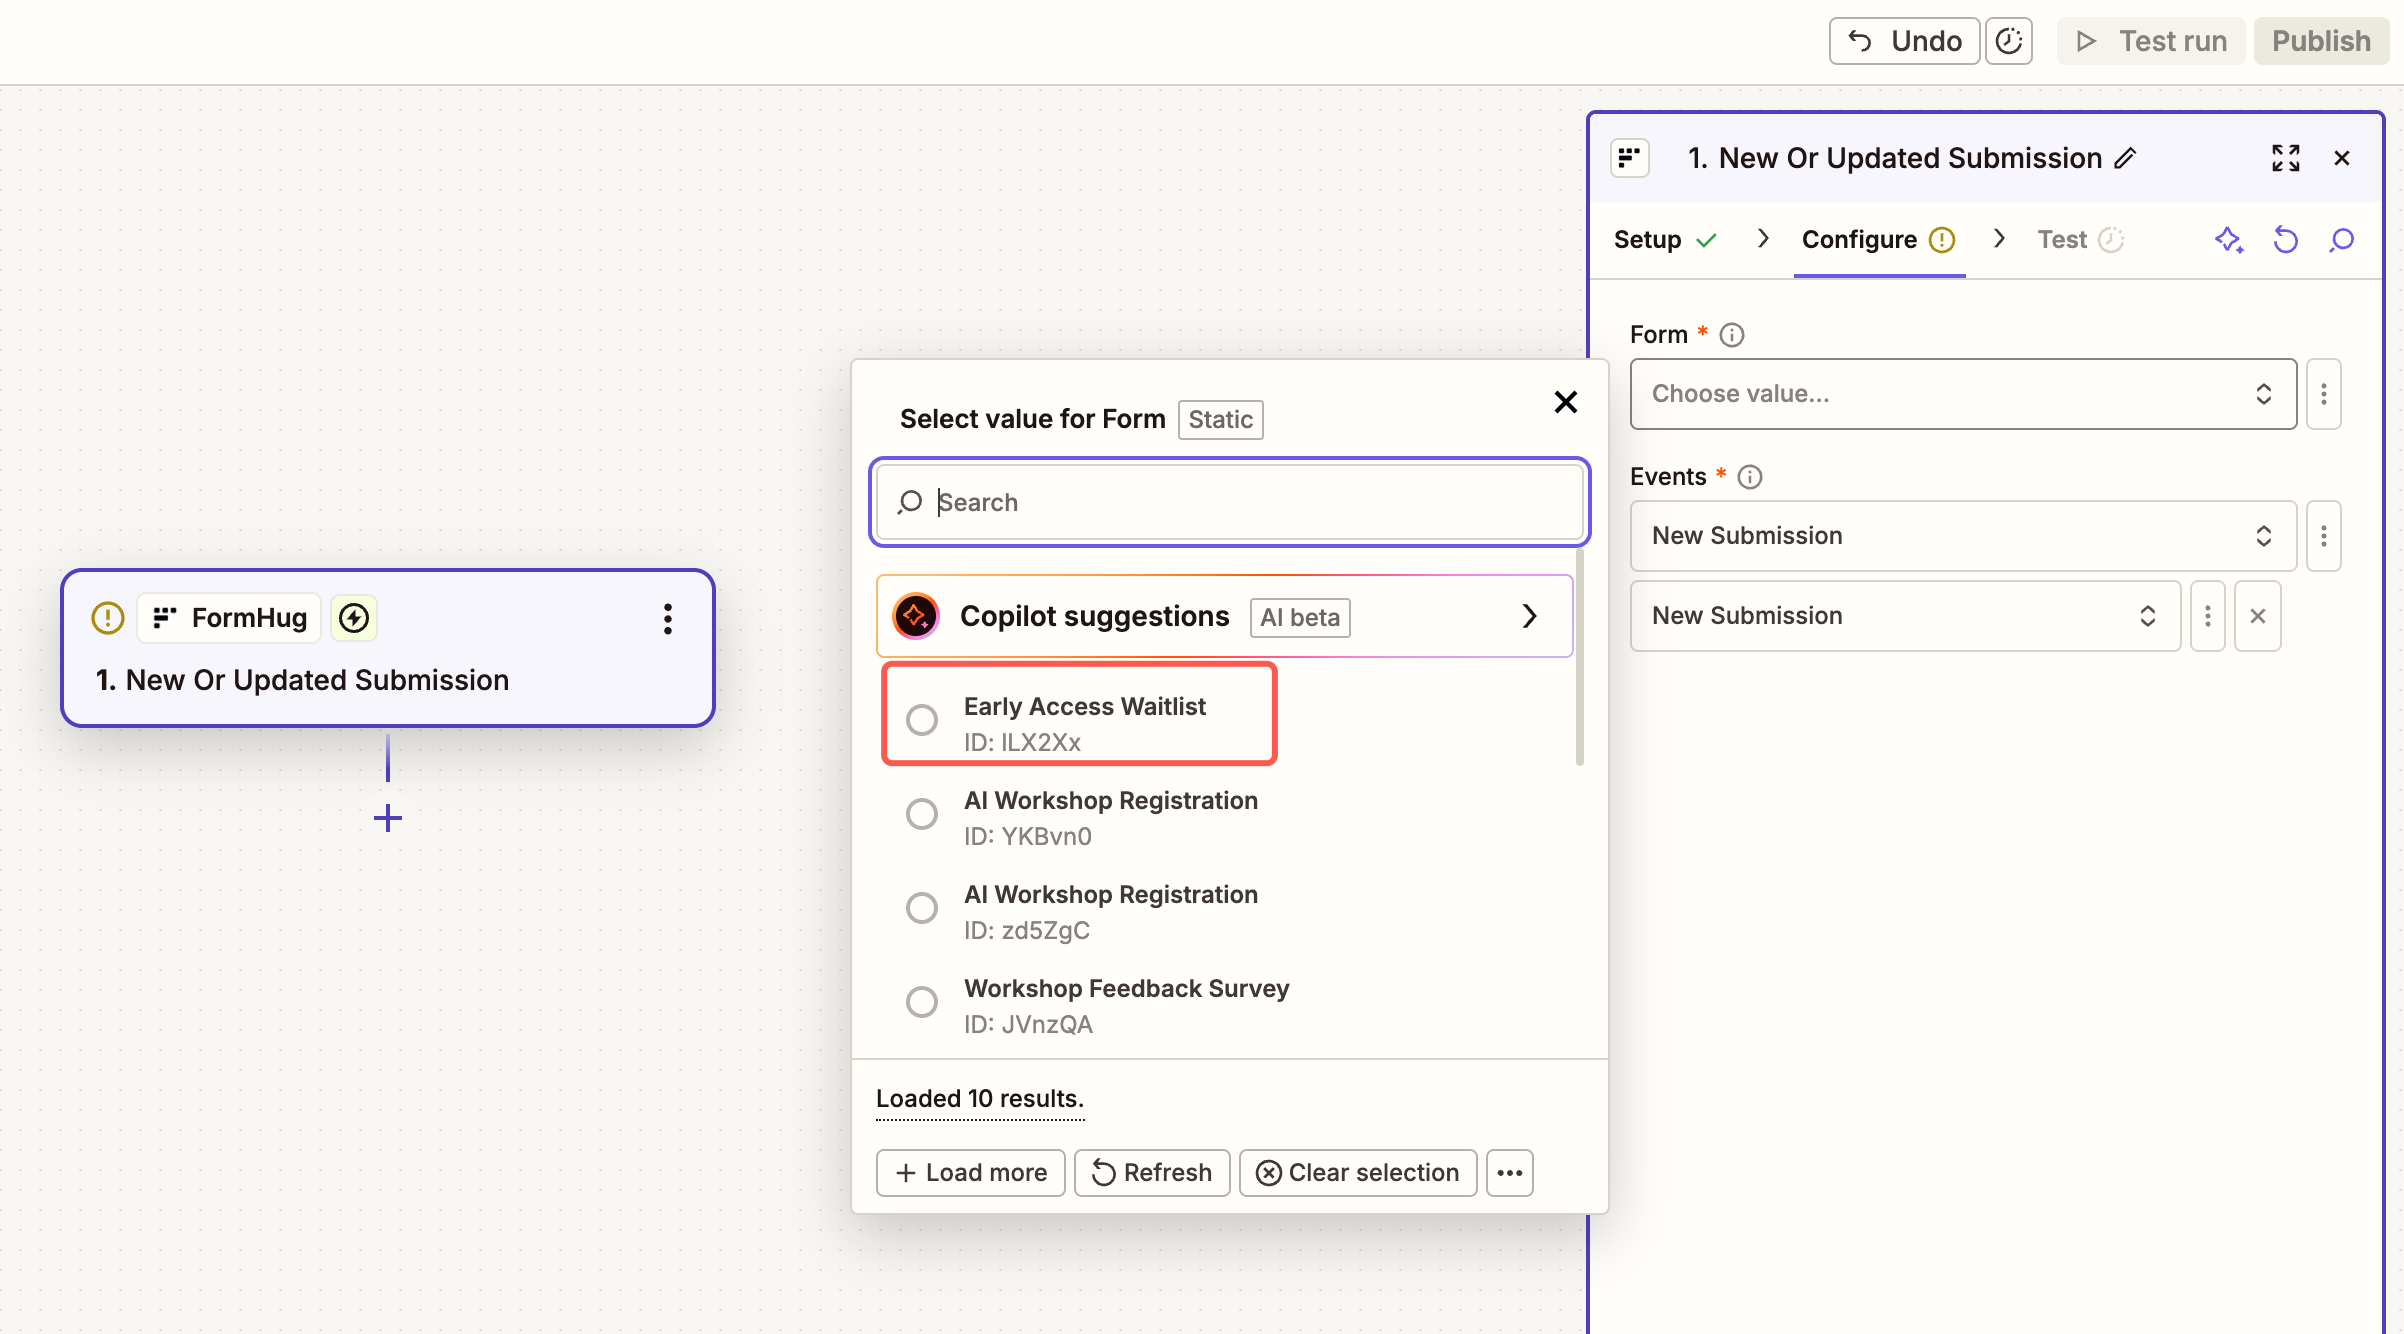
Use New Submission when the Zap should run only when someone submits the form. Use the updated-submission option when downstream systems should also react to edits.
Test the FormHug Trigger
Test the trigger so Zapier can load a recent FormHug submission.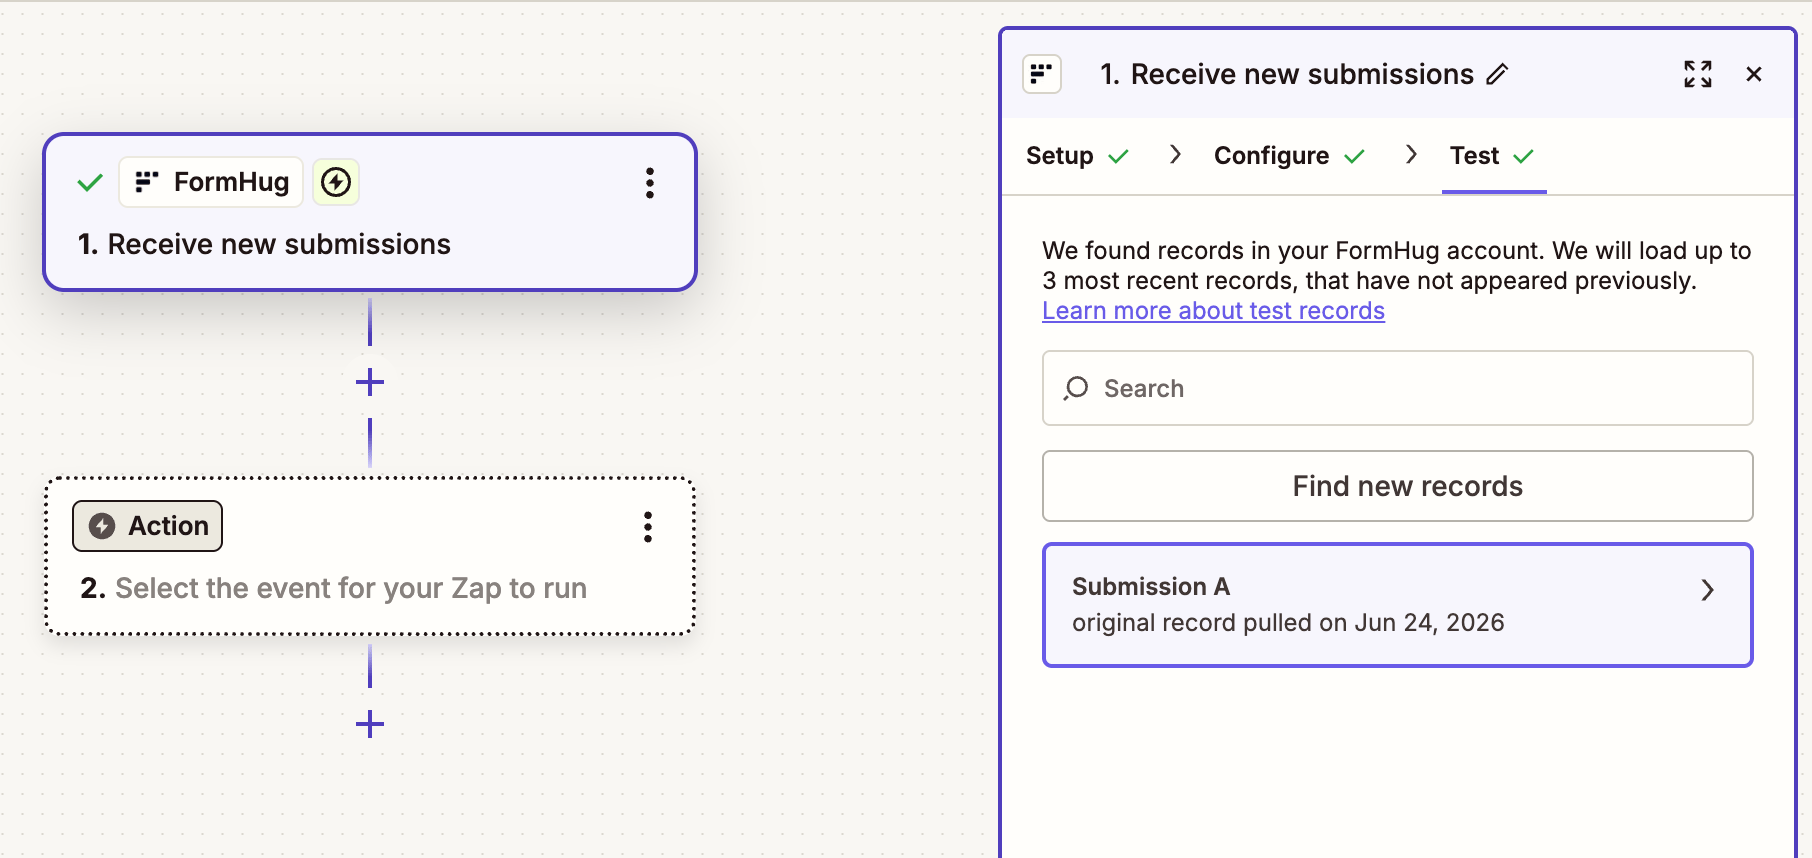
Add a HubSpot Action
Add an action step, then choose HubSpot from Zapier’s app list.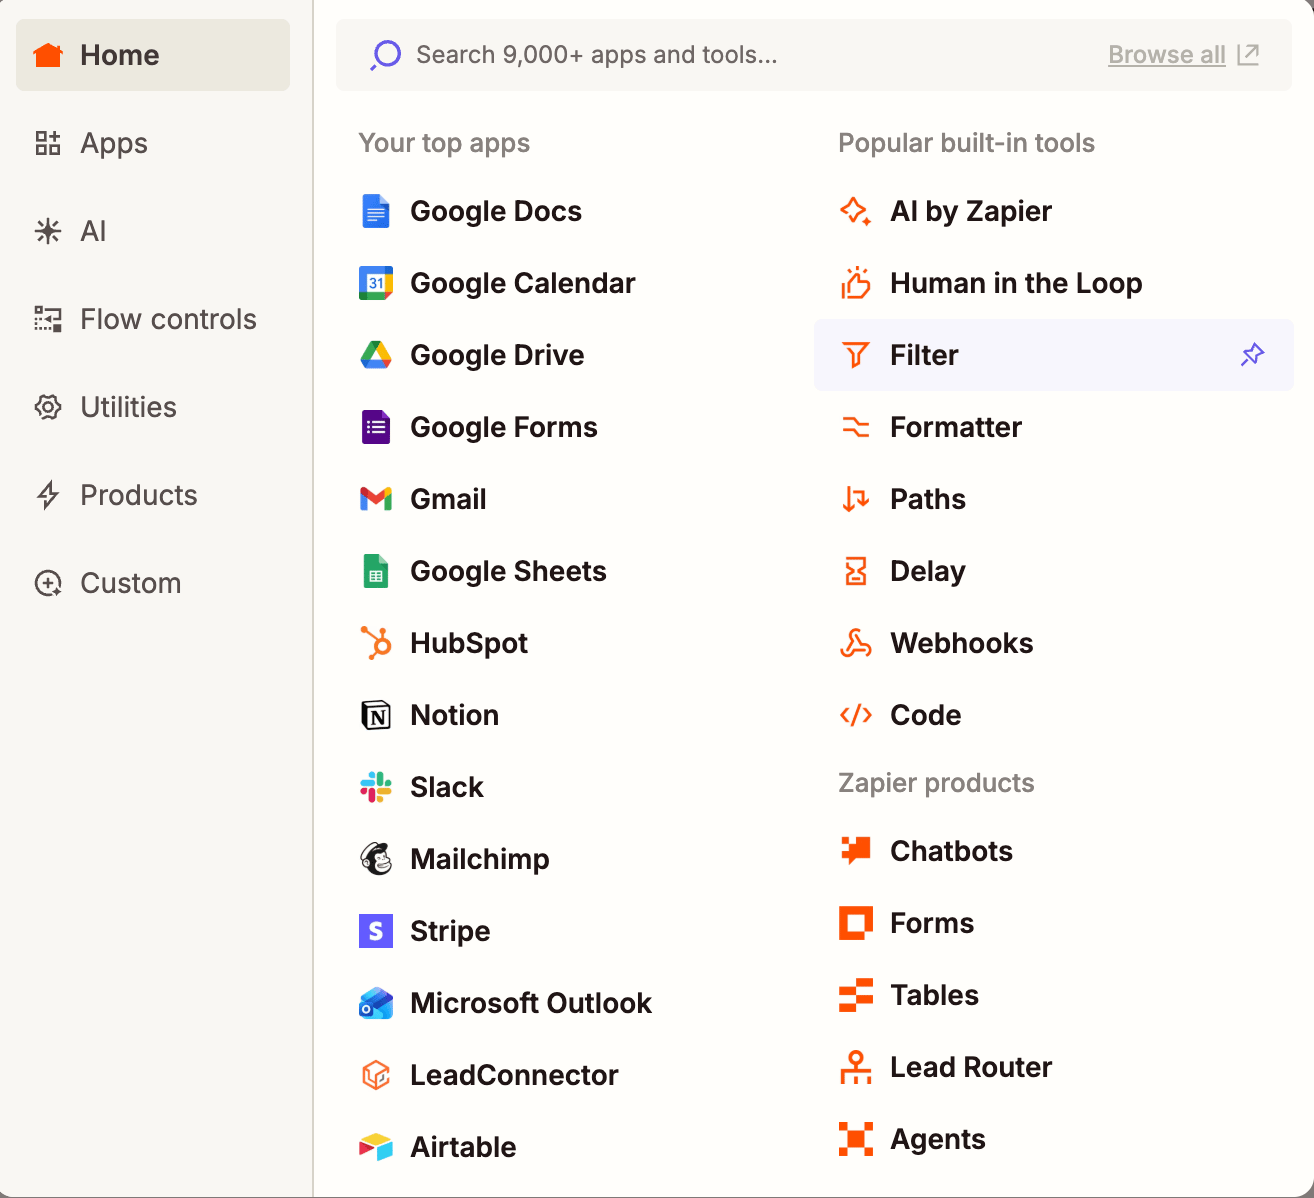
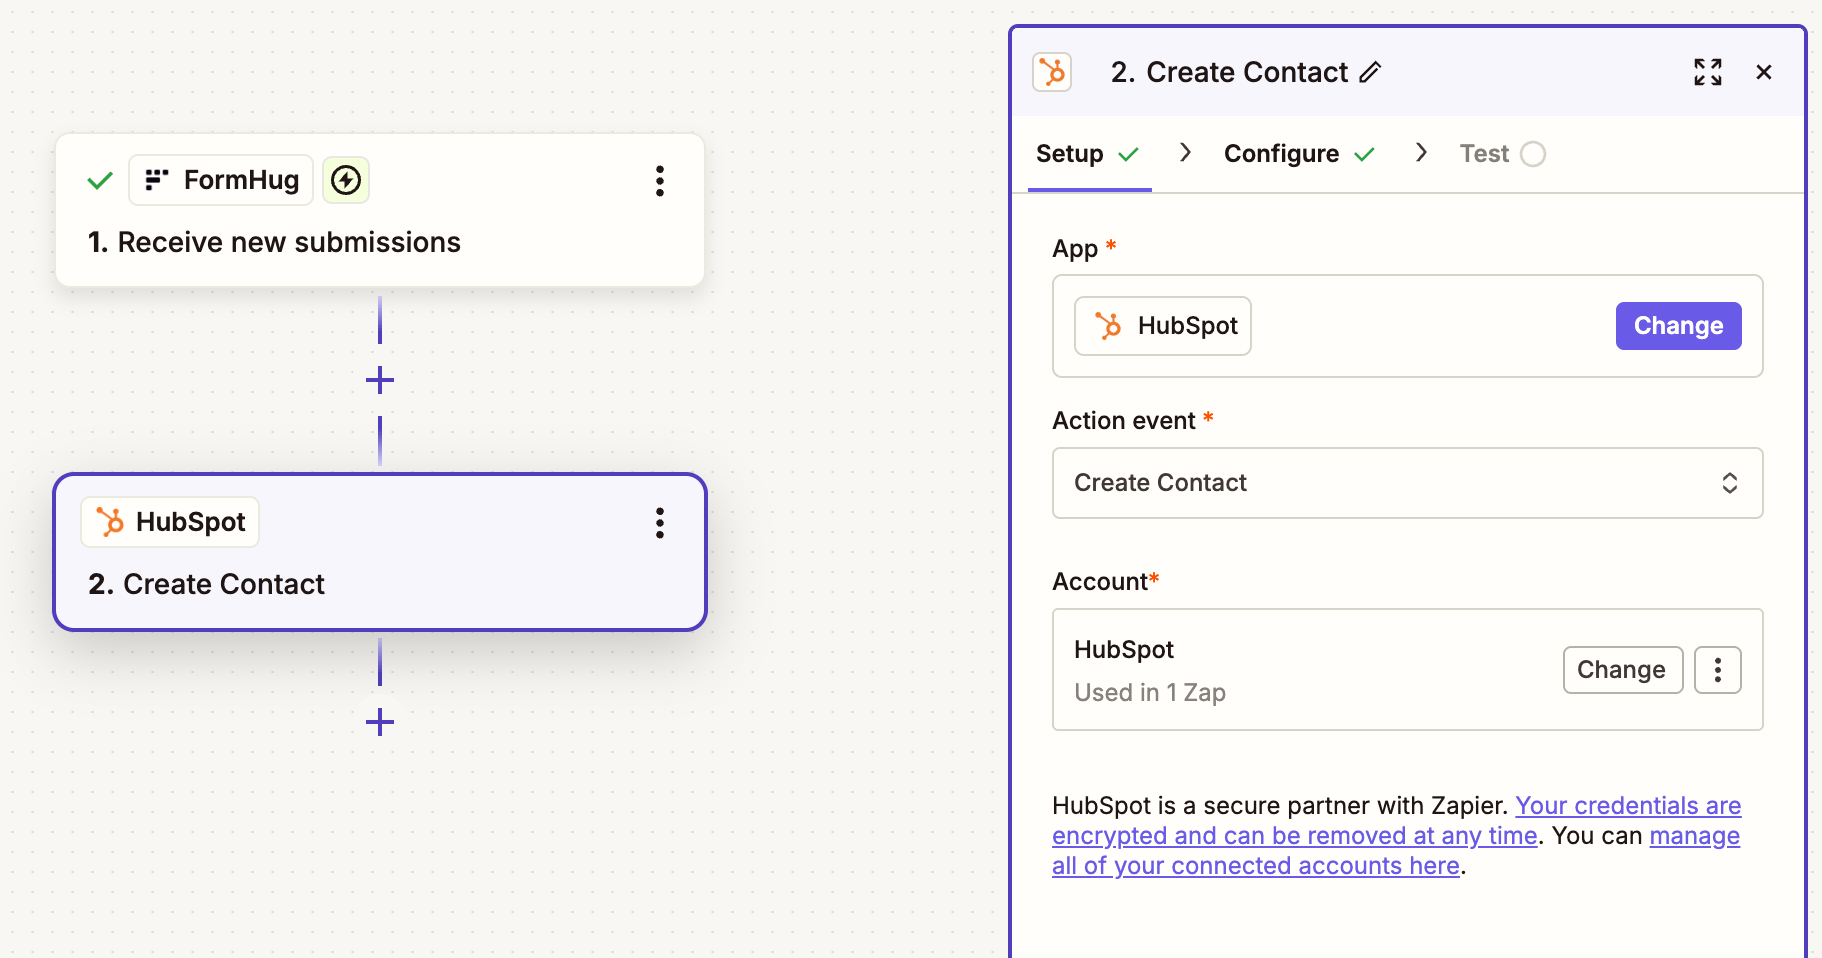
Map FormHug Fields to HubSpot
In the HubSpot action configuration, map FormHug submission fields into HubSpot contact fields.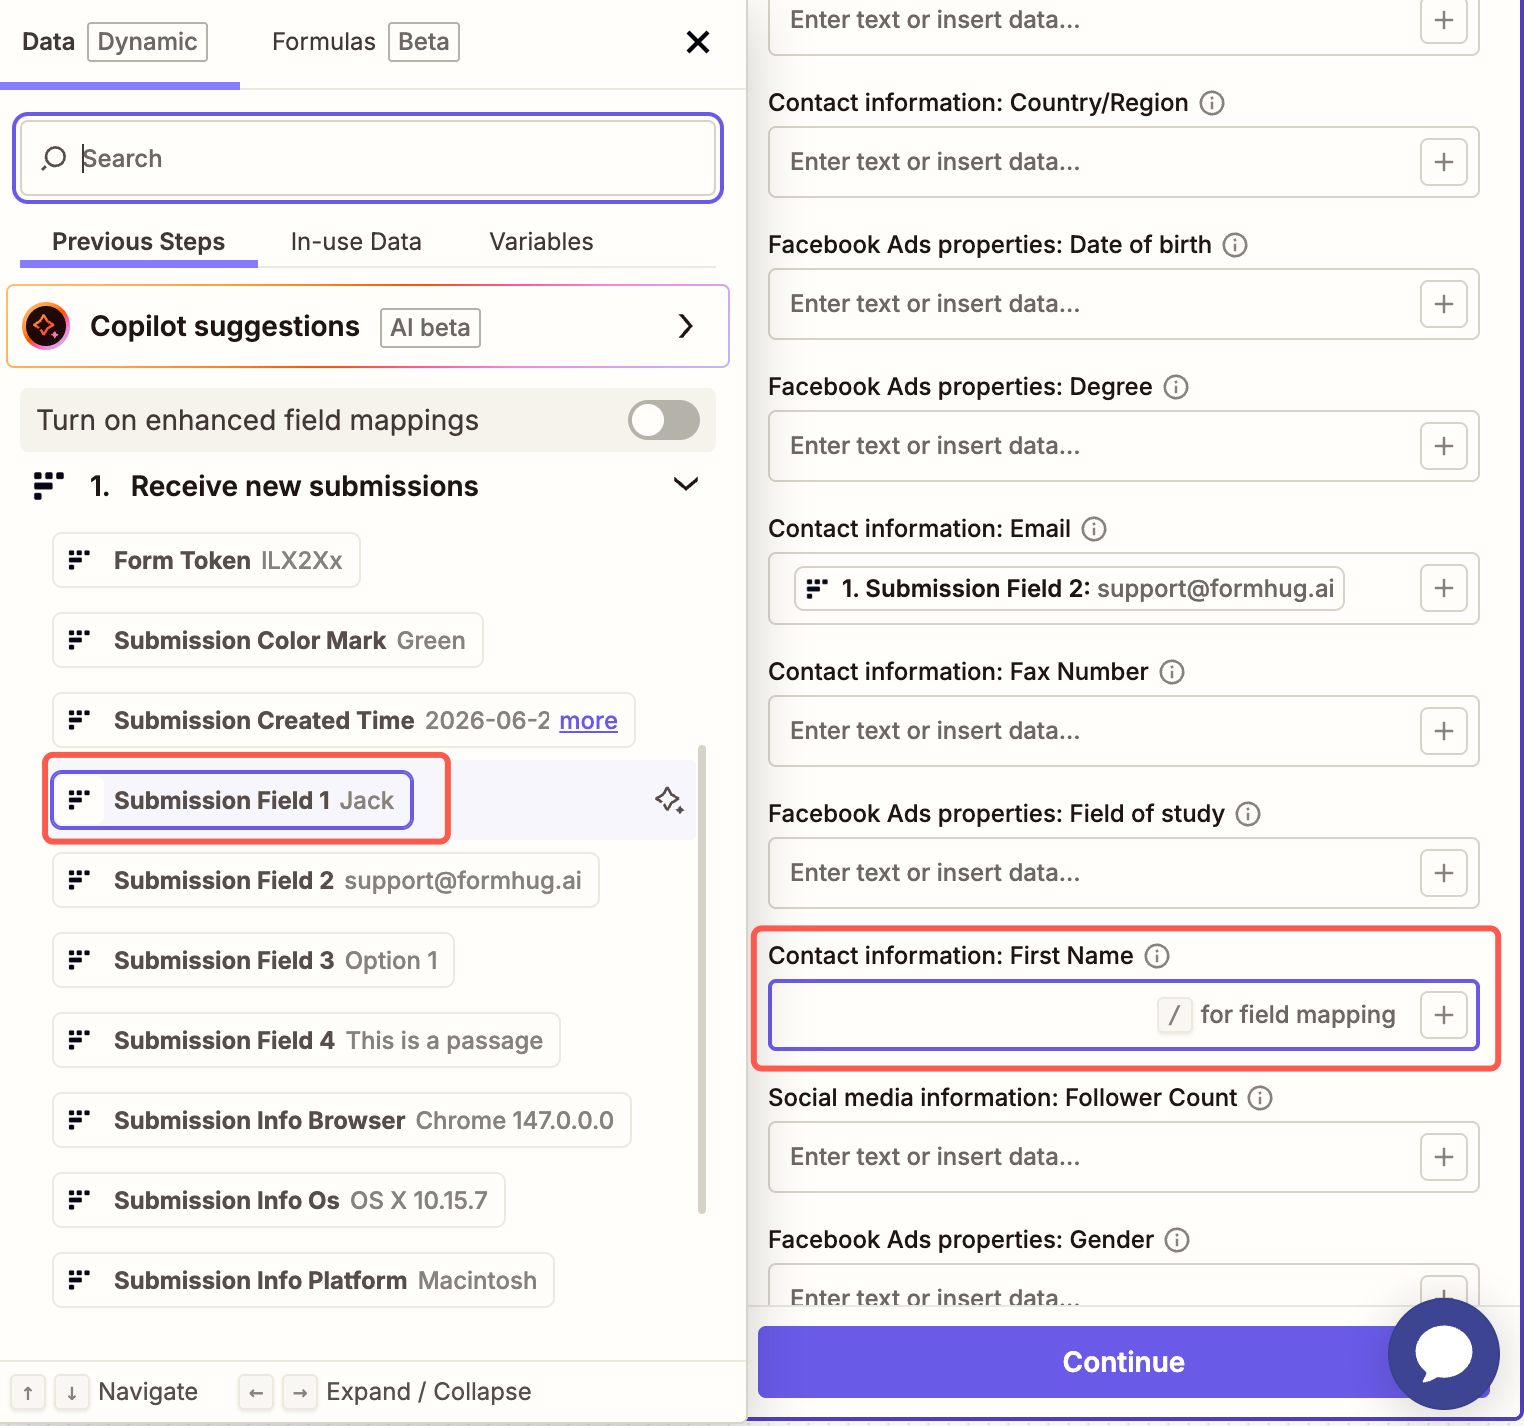
You can also map optional fields such as phone number, lifecycle stage, lead source, form name, submitted time, or the FormHug submission link.
Zapier shows FormHug fields by their trigger output labels. Use the sample values to confirm you are mapping the right field into the right HubSpot property.
Test the HubSpot Action
Test the action. Zapier sends the sample contact to HubSpot and shows the response from HubSpot.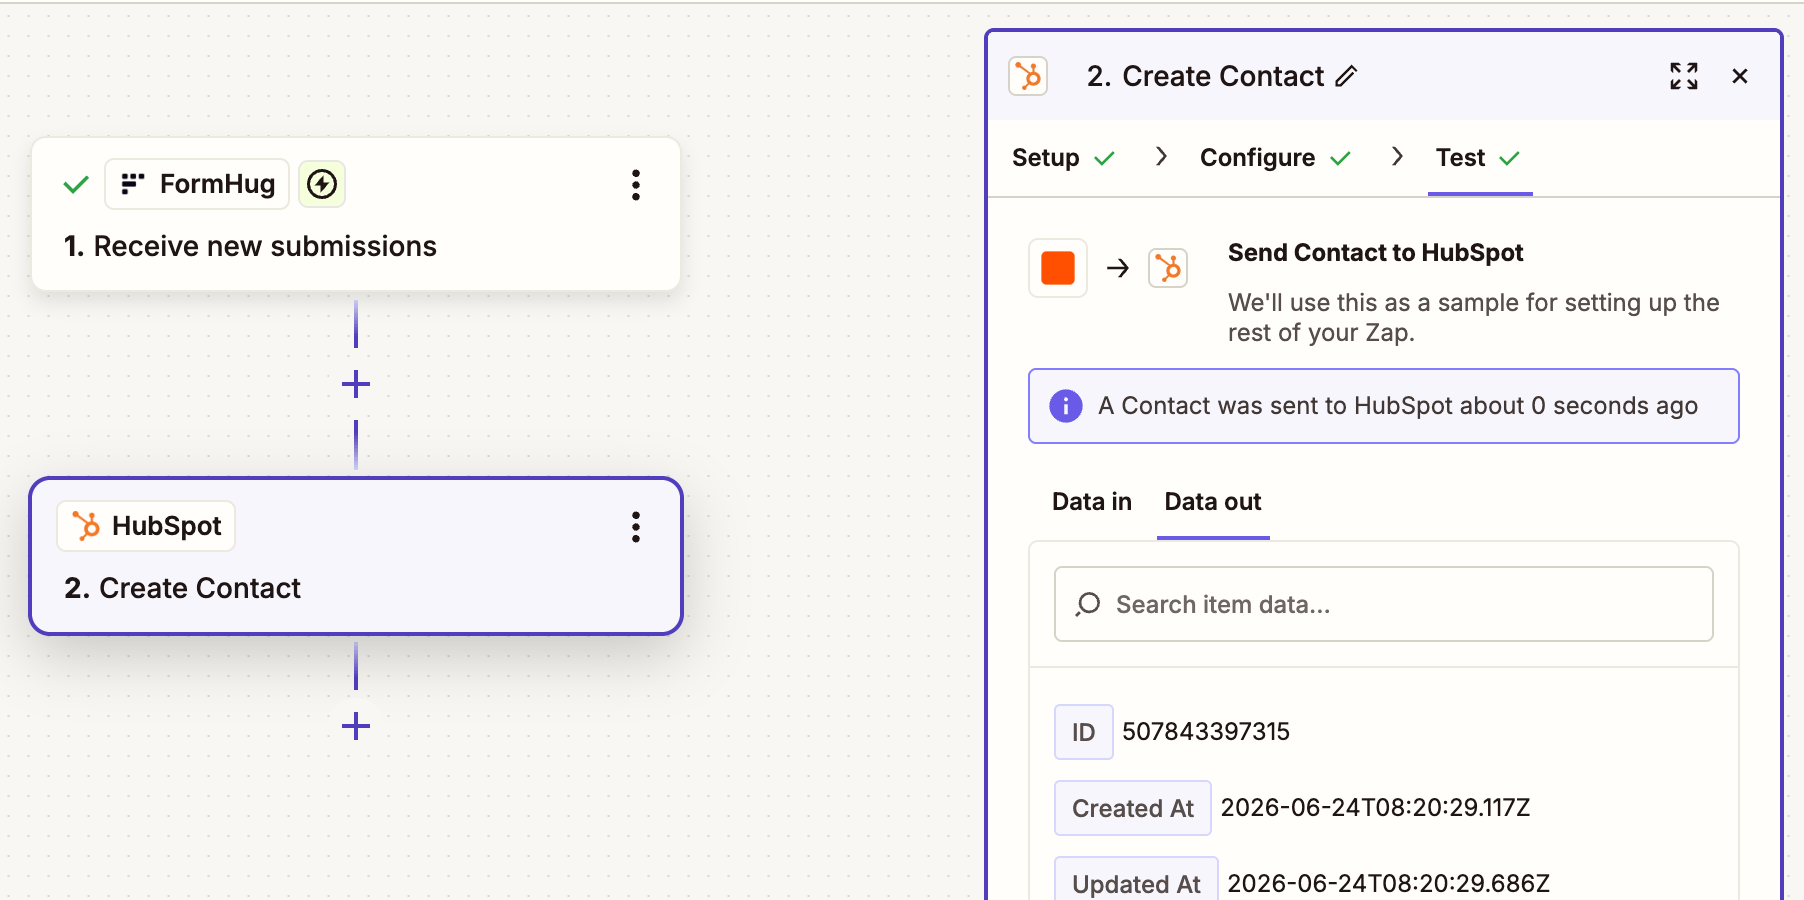
Check the HubSpot Contact
Open HubSpot and confirm that the contact was created with the mapped FormHug values.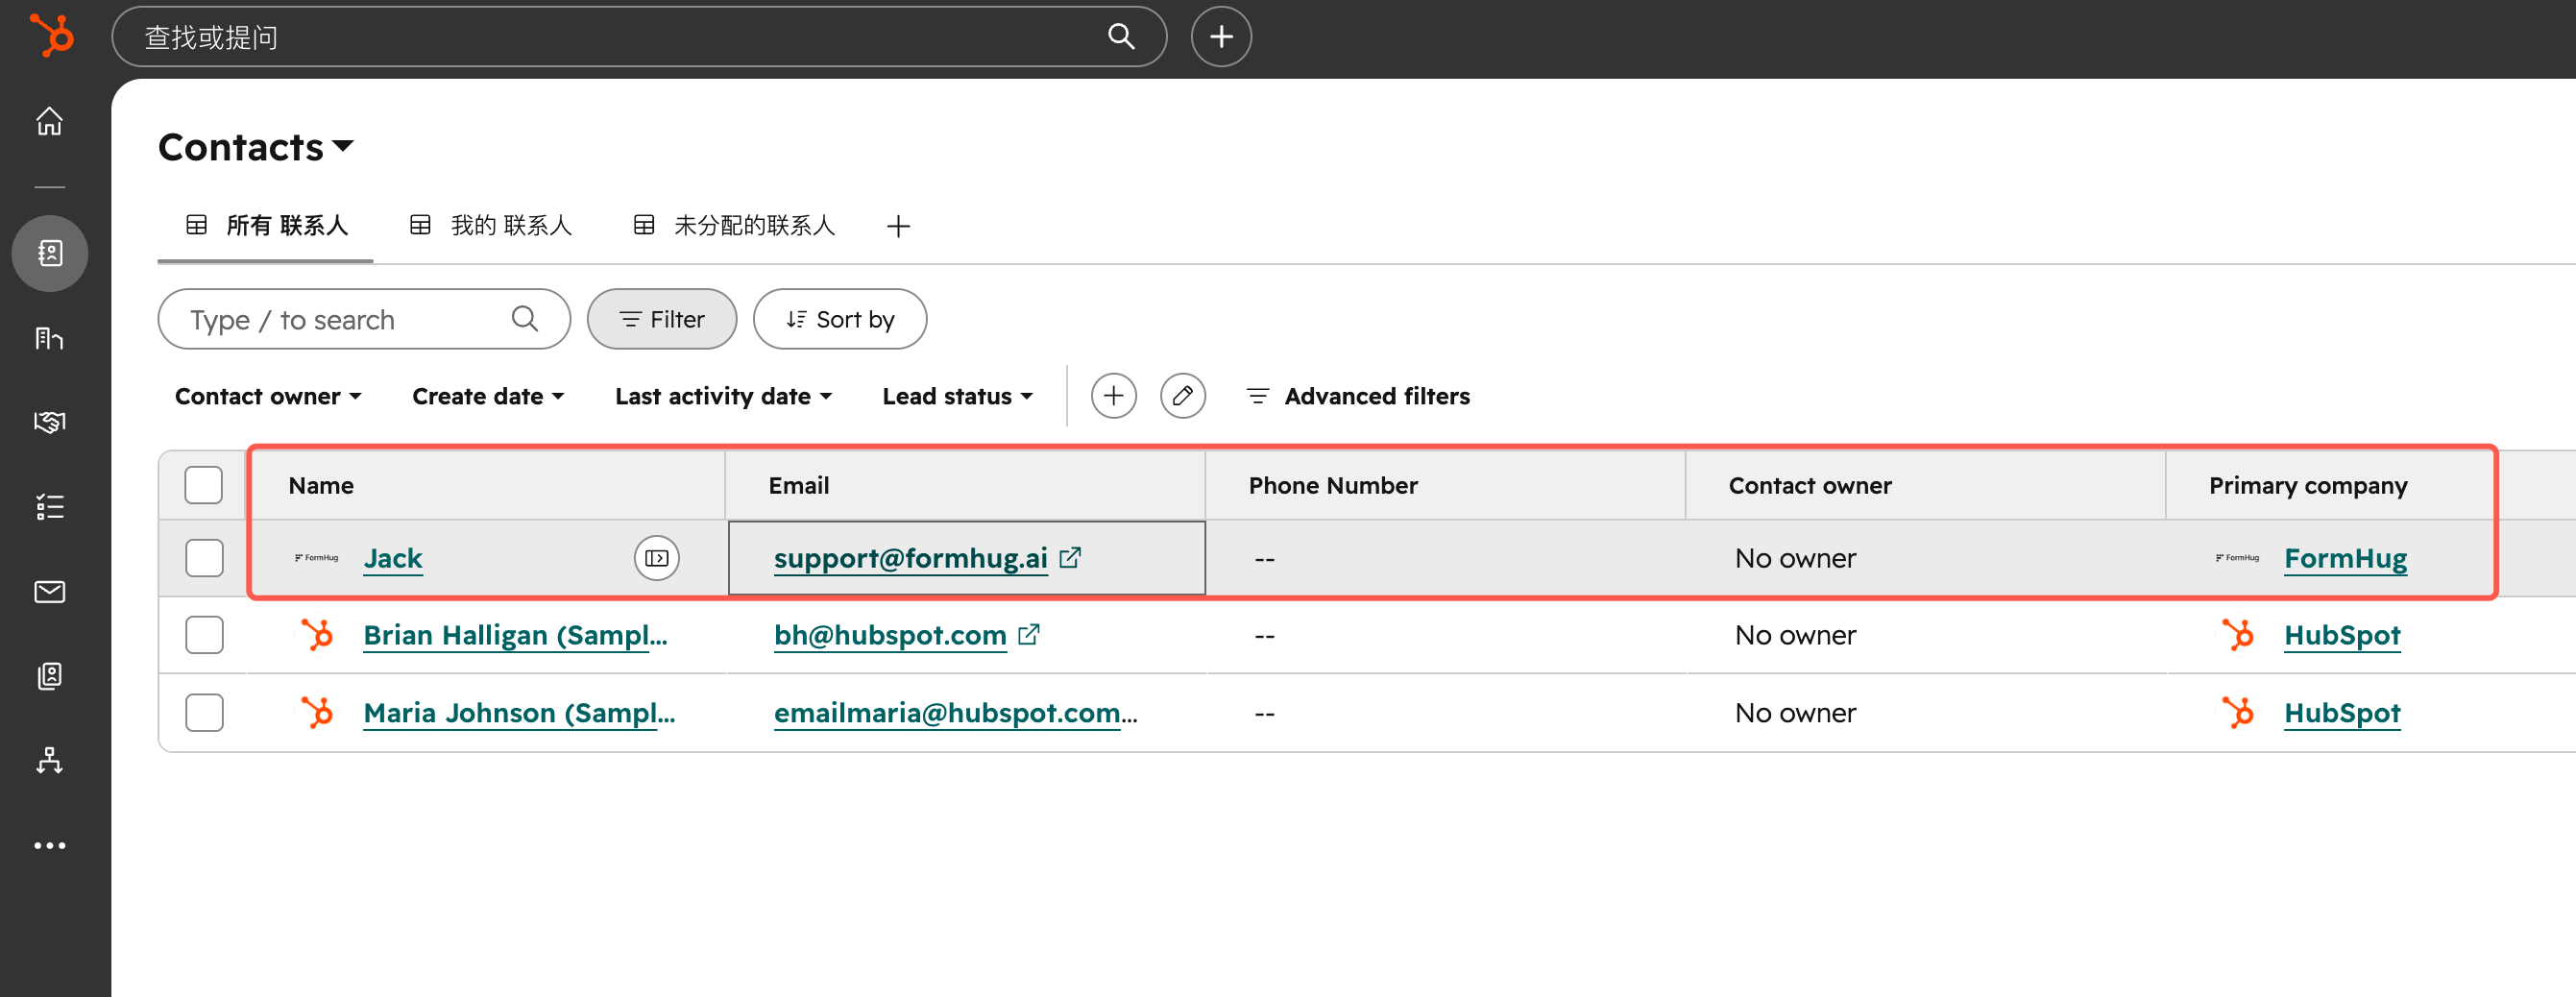
Manage the Zapier Connection in FormHug
After setup, the Zapier connection appears in My connections on the FormHug Integrations page.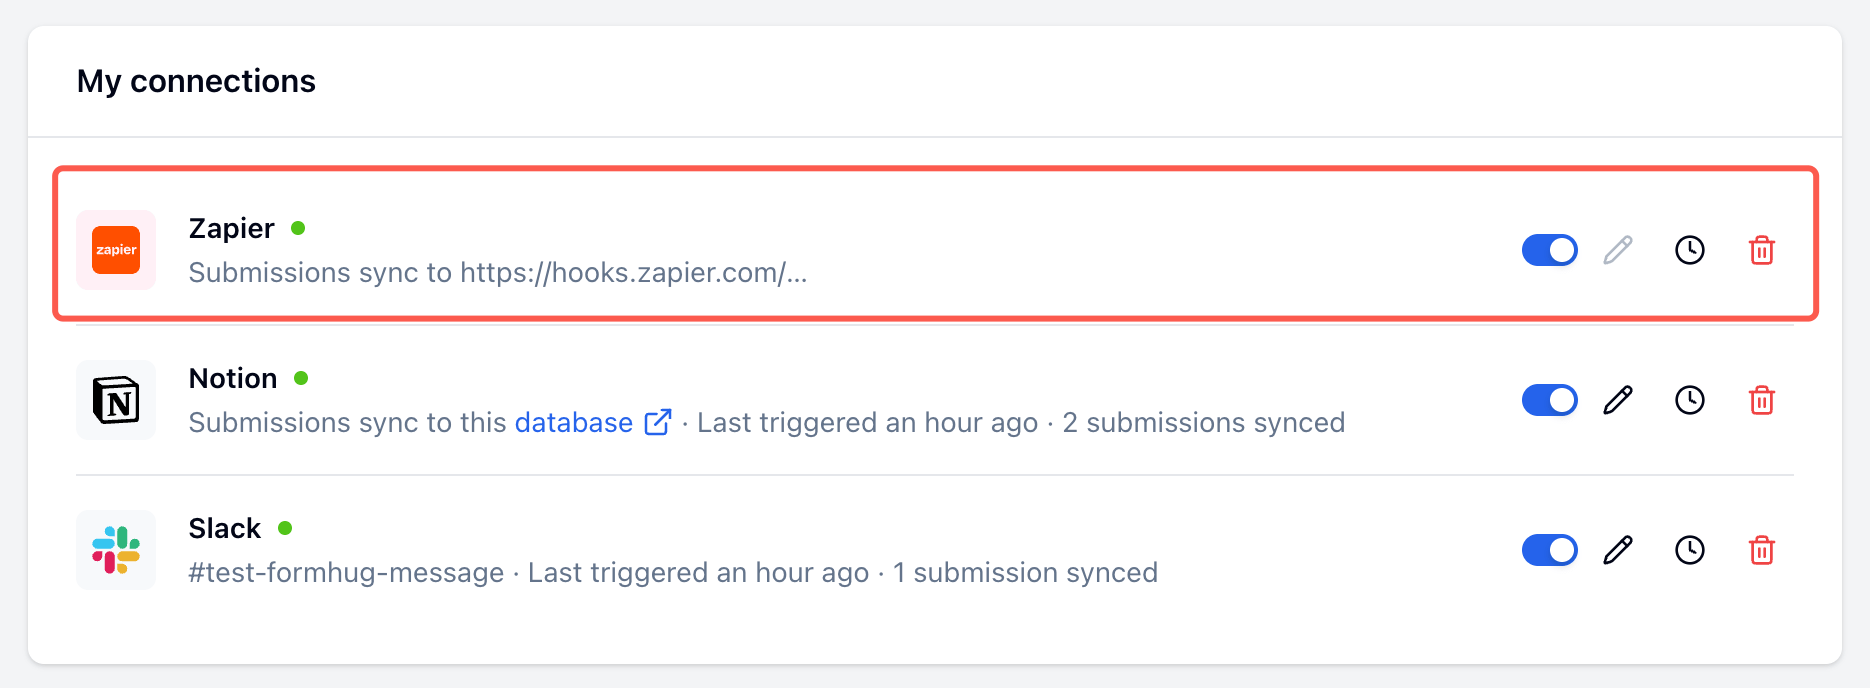
Tips for Reliable Zaps
- Keep your FormHug form field labels stable after publishing a Zap.
- Test with a real submission before turning on the Zap.
- Add required fields in the destination app only when the matching FormHug data is always present.
- Use Zapier Filters to prevent incomplete or unwanted submissions from reaching downstream apps.
- Use Formatter when you need to split names, clean phone numbers, convert dates, or reshape text before the action step.
- Add a link back to the FormHug submission when your team needs to review the original entry.
Limitations
- Zapier runs on the trigger and task behavior of your Zapier plan.
- Existing FormHug submissions are not automatically replayed unless Zapier loads them as test records or you rebuild the workflow around historical data.
- Changes made in HubSpot or another destination app do not update the original FormHug submission.
- If you rename or remove FormHug fields, review any Zaps that map those fields.
- Destination apps may have their own required fields, rate limits, duplicate handling, and permission rules.
Troubleshooting
For more detail about building Zaps and mapping data between steps, see Zapier’s Help Center for Zap workflows.
Related
Webhooks
Push submission data to your own HTTP endpoint
Slack
Post submission alerts to a channel or direct message
Google Sheets
Sync submissions to a spreadsheet automatically
Submissions
View and manage all entries in FormHug